How to Replace a Stratocaster Pickguard: A Step-by-Step Guide for Fender Owners
Swapping a Fender Stratocaster pickguard is manageable with the right tools and a careful process. Follow these six steps for a clean, flush fit.
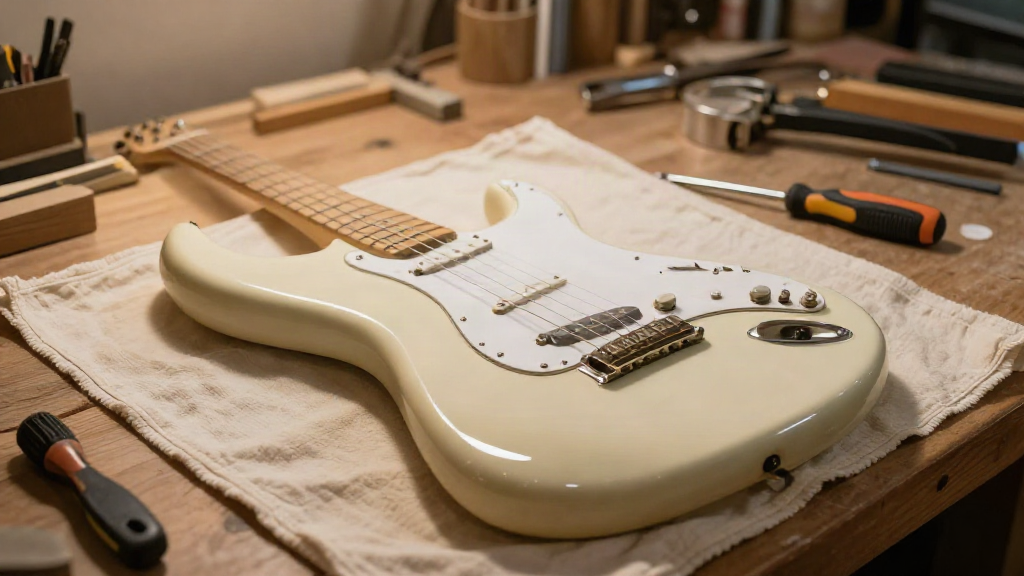
Swapping the pickguard on a Fender Stratocaster is one of the rare upgrades that changes how your guitar looks without changing how it plays. Ten screws, a little patience, and the right tool will get you from a tired stock guard to a custom one that finally looks like it belongs on your guitar.
The job is friendly enough for a first-timer, but there are a few places where a rushed hand costs you a stripped screw or a scratched finish. Here is the full walkthrough, in the order you should actually do it.
Before You Start: What You Need
Gather everything first so you are not hunting for a tool with a half-tightened guard in your lap.
- A small Phillips-head screwdriver, #1 or #2, that fits the screw slots snugly. A driver that wobbles is the number one cause of stripped heads.
- A soft cloth or a microfiber towel to rest the guitar on.
- A shallow dish or magnetic tray for the screws. Strat pickguards use eleven small screws, and they are exactly the kind of thing that disappears into a carpet.
- Your new pickguard, checked against your model before you begin.
Take a photo of the wiring and the guard orientation before you loosen anything. It takes ten seconds and saves you a lot of guessing later.
Know Your Strat Before You Buy
Not every Stratocaster pickguard fits every Stratocaster. Before you order, confirm three things:
- Model and origin. U.S.-made and Mexican-made Fender Strats share the same 11-hole mounting pattern, but many import and Squier models use a different layout.
- Pickup configuration. Your guard has to match your routing: S/S/S, H/S/S, H/H, or a three-mini-humbucker setup. Buying for the wrong config means you will be trimming or returning.
- Material and thickness. Most replacement guards are cut from 1/8 inch stock. Thicker material can sit proud of the body and interfere with the neck pocket.
If you are unsure, measure your existing guard hole-to-hole and count the mounting holes. A made-to-order guard from Pickguardworld is CNC cut to your specification, so you can specify the exact pattern, material, and finish instead of hoping a generic part lines up.
Step 1: Loosen the Strings
You do not need to remove the strings. Loosen them enough that you can lift them clear of the guard, then slip a capo or a soft cloth under them near the nut so they stay out of the way. If you are fitting a guard with different pickup routes, it is easier to take the strings off completely and treat it as a full setup job.
Step 2: Remove the Pickguard Screws
Work around the perimeter, loosening each screw a quarter turn before backing it out fully. Do not force a screw that stops moving. If one is stubborn, apply light downward pressure and turn slowly; if it still resists, it may be cross-threaded into the body, and forcing it will chew the hole.
Set every screw in your tray as it comes out. Keep them in the order they came off if you can, because a couple of positions can differ in length.
Step 3: Protect the Finish and Lift the Guard
Once the perimeter screws are out, do not yank the guard upward. It is still attached to the electronics underneath, and the wiring has a limited amount of slack.
Slide a soft cloth between the guard and the body as you lift, and tilt the guard toward the control cavity rather than pulling it straight up. This keeps the edge from dragging across the finish and gives the wiring room to move.
Step 4: Re-Seat the Electronics on the New Guard
This is the step where a custom guard earns its keep. Transfer your pickups, switch, and pots from the old guard to the new one, or install your new electronics directly onto the new guard before you set it back on the body.
A few things to watch:
- Match the pickup height to what you had before, using the old guard as your reference. Measuring the distance from the strings to each pickup pole keeps your tone consistent.
- Check the switch and pot shafts sit square in their cutouts. A binding pot will feel gritty, and a switch that sits crooked may not click cleanly.
- Route the wiring so it lies flat. Bundled or pinched wires will hold the guard up off the body.
If your new guard has a different pickup configuration, this is also the moment to confirm nothing fouls the body routing underneath.
Step 5: Set the Guard and Start the Screws
Lower the guard onto the body, letting the wiring settle naturally. Do not press it down yet.
Start every screw by hand, turning counterclockwise until you feel it drop into the existing thread, then turning it in gently. Get all eleven started before you tighten any of them fully. Working this way lets the guard find its natural position instead of fighting the first screw you tighten.
Once all screws are seated, tighten them in a cross pattern, a few turns each, until the guard sits flush. Snug is the goal. Do not crank them down; a pickguard screw tightens against plastic, and overtightening cracks guards and strips the body.
Step 6: Re-String and Check
Bring your strings back up to tension and play through every pickup position. Listen for crackle, a dead position, or a switch that does not click. Rest your hand on the guard and rock it gently; any lift or rattle means a screw is too tight on one side or a wire is pinched underneath.
A quick string-height check is worth it here too, since the guard swap may have nudged pickup height slightly.
Customizing as You Go
If you are already this deep into the guitar, it is worth thinking about what you actually want the guard to do. A custom photo pickguard turns the same install into a genuinely personal upgrade, whether that is a favorite image, a design of your own, or a gift for a player in your life.
The brand also runs limited runs in other finishes - an aged copper pattern , an astro wood veneer , purple mirror acrylic , and color-shifting mirror acrylic - each cut to fit U.S. and Mexican Stratocaster models. Because these are made to order in small batches rather than pulled off a shelf, the fit is specific to your guitar.
Common Mistakes to Avoid
- Rushing the first screw. Start all of them before tightening any, and the guard will not fight you.
- Using the wrong driver. A loose-fitting screwdriver chews up slot heads fast.
- Lifting the guard straight up. Tilt toward the control cavity and keep a cloth under the edge.
- Overtightening. Snug, not torqued. Plastic guards crack.
- Ordering before measuring. Confirm hole count and pickup configuration first.
Wrapping Up
Replacing a Stratocaster pickguard is a genuinely manageable job for an afternoon, and it is one of the most satisfying cosmetic upgrades you can make to a Fender. Take it slowly, protect the finish, and let the guard settle onto the body before you tighten anything down.
When you are ready to pick your next guard, Pickguardworld builds custom, CNC-cut options for Stratocaster and Telecaster owners - made to order, shipped from Sacramento, and built to fit your guitar rather than approximately resemble it.
Featured in this story
Find your next pickguard
Made for your guitar
Custom Stratocaster Pickguard
Choose your Strat model and pickup layout, then preview the finished pickguard before ordering.
Built to order
Design a Strat pickguardUse your own artwork
Custom Photo Pickguard
Upload a photo or design, position it on the pickguard, and capture the exact layout you want us to print.
UV printed in our workshop
Upload your design