The Design Was Right. The Screw Holes Weren’t.
A pickguard can have the perfect artwork and still fail at installation. Learn why screw-hole placement matters and how an original guard helps prevent fit problems.
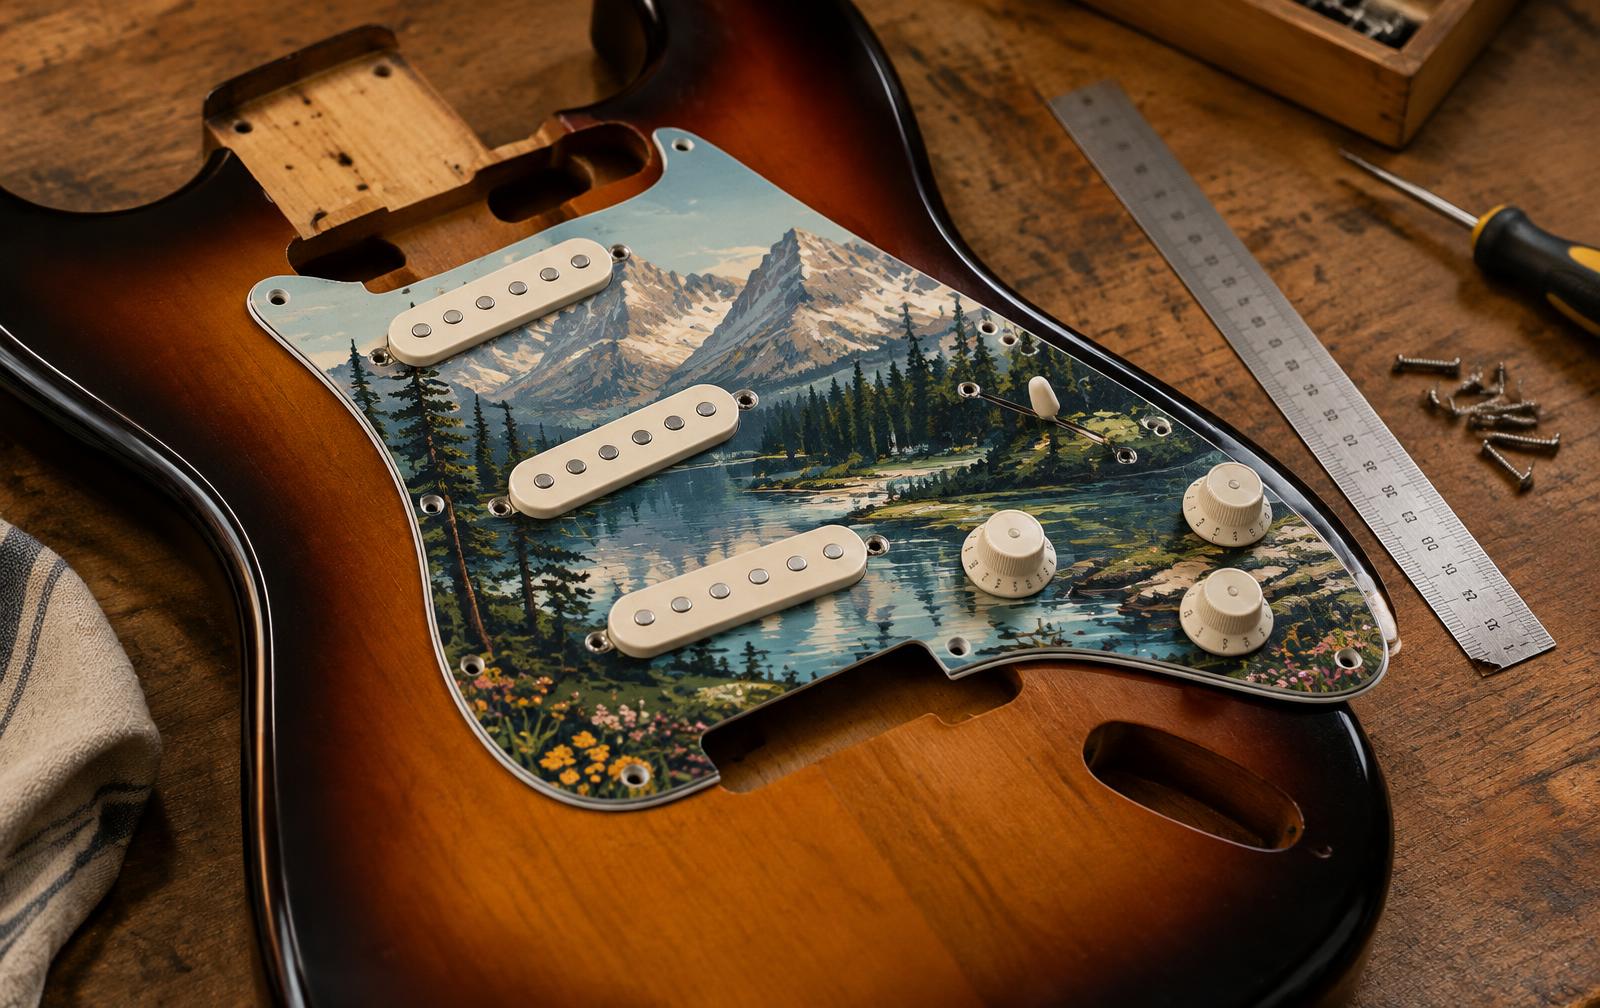
The artwork looked exactly right. The colors worked with the guitar, the scale was balanced, and the finished surface looked better than it had on the screen. Then the pickguard went onto the body—and several screw holes missed their marks.
That small mismatch is enough to turn an exciting upgrade into a frustrating afternoon. A pickguard is not simply a decorated sheet of material. It is a fitted part, and the mounting pattern is part of the design.
Why Pickguard Screw Holes Vary
Two guitars can look nearly identical from across the room and still use different mounting patterns. Manufacturers revise specifications. Factories use different tooling. Import versions may not match U.S. or Mexican models. Previous owners sometimes drill new holes or replace a body while keeping the old guard.
Even within the Stratocaster family, hole count alone does not guarantee a match. Two 11-hole guards can place one or more screws differently. A few millimeters is all it takes for a screw to lean, bind, or miss the existing body hole.
The Original Pickguard Is Better Than a Model Name
A model name is useful, but the old pickguard shows what is actually on the guitar. It gives us the outside edge, neck-pocket shape, pickup and control openings, bridge clearance, and exact mounting-hole locations.
When fit is uncertain, compare the original guard with the proposed replacement before choosing artwork. A straight overhead photo beside a ruler can help with an initial check. For an unusual, modified, or discontinued instrument, tracing the physical guard is the safer route.
Why We Verify Fit Before Final Artwork
Artwork and hardware have to work together. A face, logo, horizon, or important detail may look perfect on a blank outline but disappear under a pickup, knob, switch, or screw. If the outline changes after the design is finished, the composition can shift too.
Our preferred order is simple:
- Confirm the pickguard shape and model.
- Verify the screw-hole and hardware layout.
- Position the artwork on the correct template.
- Capture the approved preview.
- Print and cut from that verified file.
This protects both sides of the job. The customer sees the intended composition, and the shop has a clear production reference.
Should You Drill New Holes?
Sometimes a player chooses to drill a body for a different mounting pattern. That can work on an inexpensive project guitar, but it should be a deliberate decision—not a surprise discovered during installation. Extra holes can affect appearance, originality, and resale value, especially on vintage or collectible instruments.
If the current holes are sound, matching them is usually the cleaner choice. Never force angled screws into holes that do not line up. The pressure can warp the guard, crack the material, strip the body hole, or leave an edge that refuses to sit flat.
What to Check When Your New Guard Arrives
Set the new pickguard on the guitar before transferring electronics. Check the neck pocket, bridge clearance, body contour, pickup routes, control openings, and every mounting hole. Start all screws loosely before tightening any one screw.
If something is wrong, stop before drilling or trimming. Photos of the guard resting in place, with close-ups of the mismatched areas, give a maker much better information than a general description.
Fit Comes First
A beautiful design only becomes a successful pickguard when it fits the instrument underneath it. Confirming the actual mounting pattern takes a little more time at the beginning, but it prevents damaged parts, unwanted holes, and a design that never gets installed.
If your guitar does not match a standard template, start with PickGuard World and use the original guard or verified measurements as the reference. We can build the shape first, then help turn it into the custom look you had in mind.
Featured in this story
Find your next pickguard
Fit built around your guitar
Custom Replacement Pickguard
Send us your original guard or verified measurements so the outline, controls, and screw holes are matched before we cut.
Measured and checked in our workshop
Start a custom replacementMake the replacement personal
Custom Printed Pickguards
Once the fit is right, choose a finish or position your own artwork on the guard and save the exact layout with your order.
Your design, built to order
Browse pickguard options